How to Test Ride an Electric Bike: A Practical Evaluation Route
2026-11-05
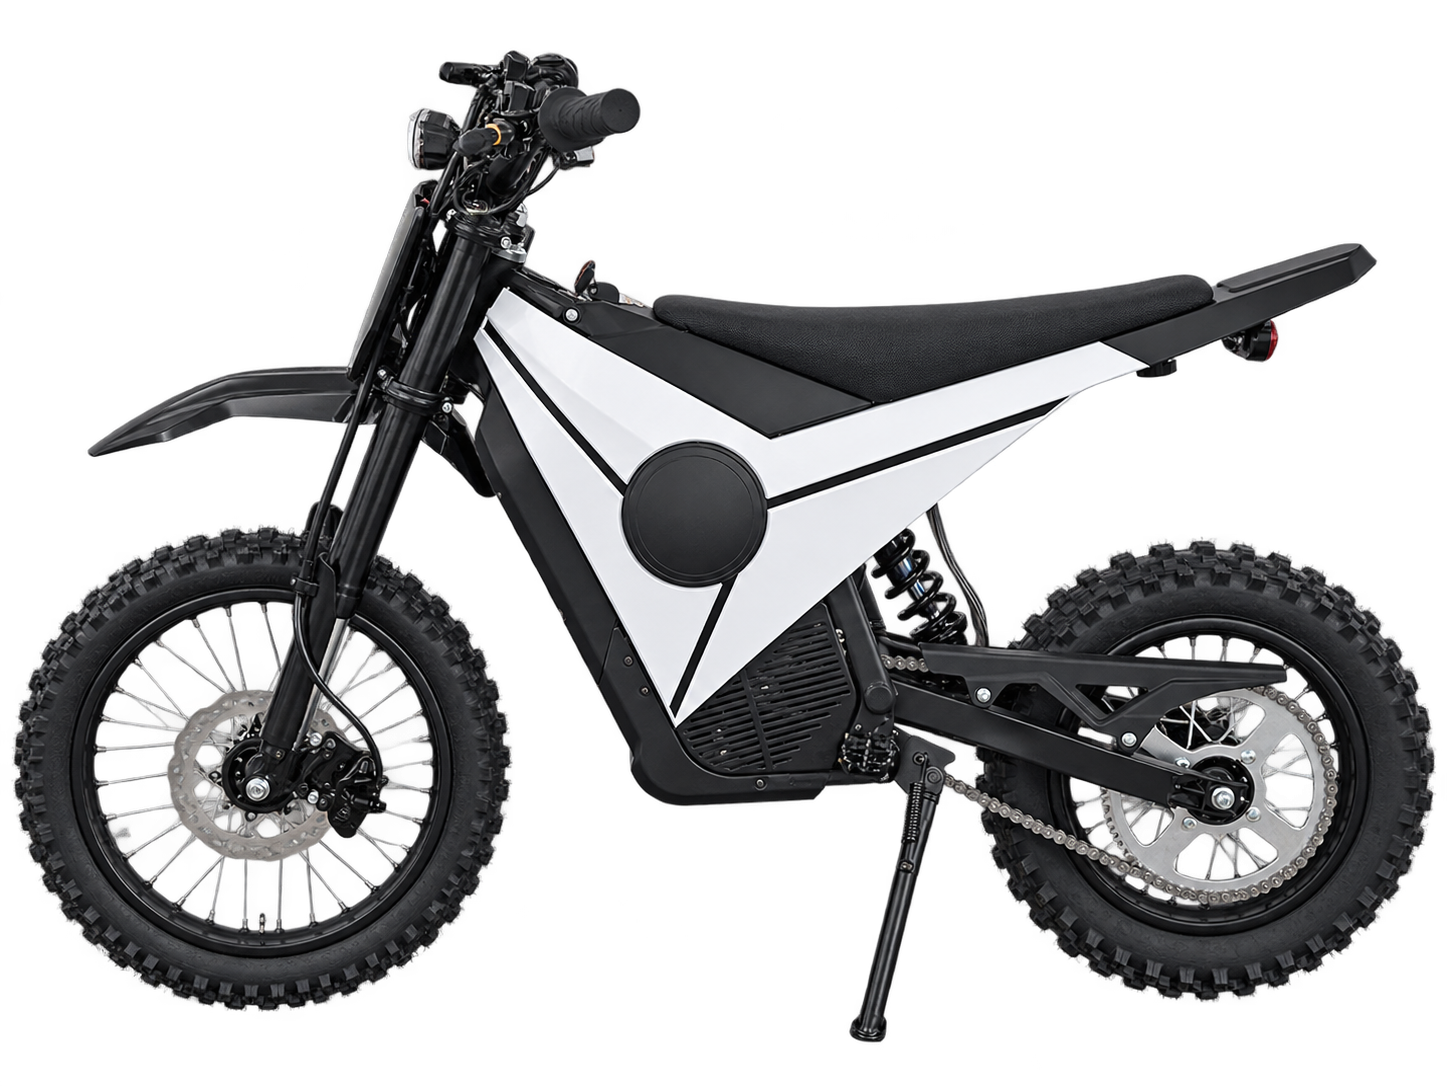
A useful electric bike test ride should reproduce your everyday journey. A short burst of acceleration outside a shop tells you little about comfort, control or how the bicycle behaves at walking speed. Before starting, explain your usual distance, road surface, storage arrangements and luggage requirements to the dealer. Ask for the saddle and controls to be adjusted before comparing models.
← Back to newsStart with assistance switched off in a quiet, permitted area. Walk the bike, turn it around and try the brakes while stationary. Check whether you can reach both brake levers comfortably and put a foot down confidently. If the bicycle feels difficult to manage here, extra motor power will not solve the underlying fit problem.
Begin riding in a low assistance setting and an easy gear. Practice several gentle starts and complete stops. Notice whether assistance arrives smoothly or surprises you. Compare a gradual corner with a tighter turn, keeping speed low and leaving plenty of space. Change one setting at a time so you can identify what caused a difference.
Include a modest hill if the dealer permits it. Shift to an easier gear before the slope, then assess your pedaling effort and how naturally the motor responds. On the return, check controlled braking rather than maximum speed. A public-road test is not the place to discover emergency braking limits.
Repeat part of the route with the luggage you actually expect to carry, using approved mounting equipment and staying within all load limits. Finish by lifting or moving the bike only if it is safe to do so. Record your impressions immediately: fit, low-speed balance, assistance response, braking feel and practical handling. Choose the bicycle that works consistently across the route, rather than the one with the strongest first acceleration.